Table of Contents
what lighting is best for food photography?

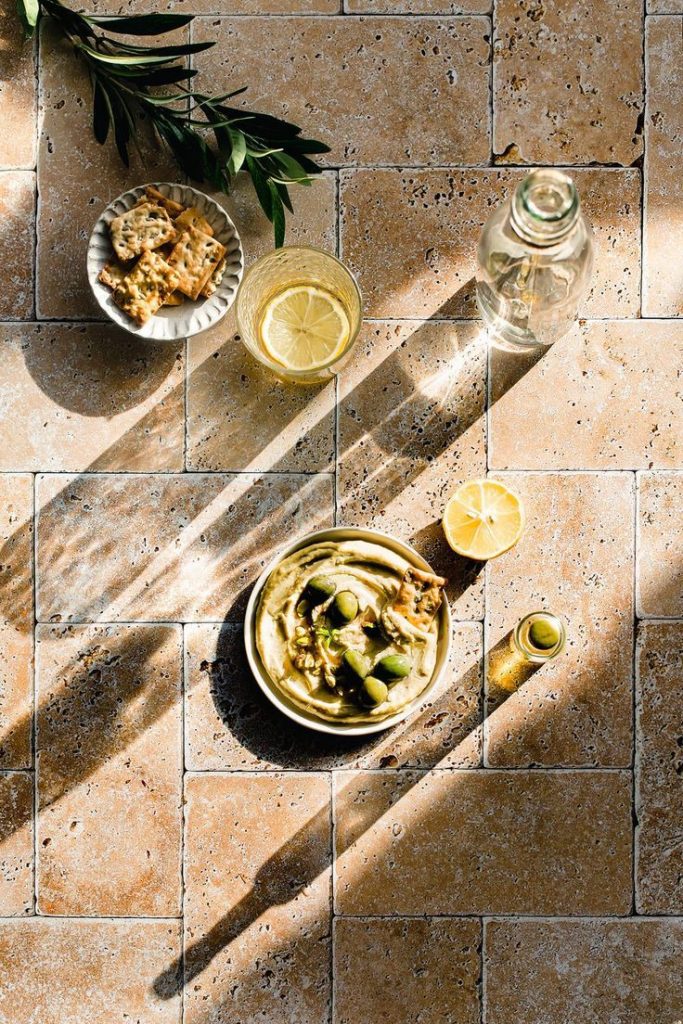
One of the most critical decisions you’ll make in food photography is choosing the right lighting. Here I will be helping you answer the big question “what lighting is best for food photography? There are two primary options to consider: natural light and artificial light.
Natural vs. Artificial Lighting in Food Photography
| Aspect | Natural Light | Artificial Light |
|---|---|---|
| Pros | – Soft and diffused, especially during golden hours. | – Control over intensity, direction, and color temperature. |
| – Creates beautiful, natural shadows. | – Consistency regardless of the time of day. | |
| – Best for fresh and vibrant dishes. | – Ideal for studio setups and commercial shoots. | |
| Cons | – Limited availability (daylight). | – May appear less natural if not carefully managed. |
| – Inconsistent due to weather conditions. | – Requires additional equipment (stands, modifiers, etc.). |
Tips For Natural Light For Food Photography

If you’re using natural light for your food photography, here are some tips to make the most of it:
1. Use a Diffuser

To optimize your food photography with natural light, a diffuser is a fundamental tool. It scatters and softens light, reducing harsh shadows and glare. You can choose from various diffuser types, such as thin curtains, specialized panels, or DIY alternatives. Position the diffuser between the light source (like a window) and your subject, adjusting the distance for control. Different materials and distances can vary the intensity of diffusion. Understanding these nuances allows you to manipulate light quality, affecting texture, color, and mood in your images. Consider layering diffusers with reflectors and experiment to unleash your creative potential, making your food photography truly exceptional..
2. Find the Right Window

For great food photos, explore different windows in your home. North-facing windows provide soft, even light without harsh shadows. East-facing ones offer beautiful morning light, ideal for breakfast shots. West-facing windows cast warm, cozy light in the afternoon. South-facing windows can work but may need softening with tools. Picking the right window aligns with your creative vision and enhances your food photography, offering consistently appealing results.
3. The Golden Hours

Shoot during the “golden hours” – the first hour after sunrise and the last hour before sunset. During these times, the sunlight is warm and soft, which can produce stunning results.
4. Reflectors

Use white foam boards or aluminum foil as reflectors to bounce light onto the shadowed side of your dish. This helps balance the lighting.
Artificial Lighting Equipment For Food Photography
If you opt for artificial lighting, consider the following equipment for food photography:
1. Softboxes
Softboxes are commonly used to diffuse and spread light. They create a soft, even illumination that works well for food photography.
2. Continuous Lighting
Continuous LED lights or studio strobes provide constant and consistent lighting. These can be adjusted to achieve the desired intensity and color temperature.
3. Light Modifiers
Use light modifiers, like grids, snoots, or barn doors, to control the direction and focus of the light. This is particularly useful for highlighting specific areas of your dish.
4. White Balance
I actually take this seriously and it helps make my images stand out. Pay attention to white balance settings to ensure accurate colors in your photos. Adjust the color temperature of your artificial lighting to match your surroundings.
Creating Mood and Ambiance
Consider the mood and ambiance you want to convey in your food photos:
1. Warm and Cozy

To make a place feel warm and cozy, use soft, warm lights. Imagine a nice, dim light in a cozy restaurant or at home. It makes everything look comfortable and inviting. This kind of lighting also makes food, especially comfort food, look really good. Besides looking nice, these lights also make people feel calm and relaxed. So, if you want a nice and comfy atmosphere, just add some soft, warm lights. It’s like creating a warm hug for the space!
2. Fresh and Crisp

Using cool, natural light makes salads, fruits, and drinks look really fresh and appealing. It’s like the sunlight on a nice day, making the colors of the food stand out and look vibrant. When you use this kind of light, your healthy dishes look as fresh as they taste, giving them a lively and inviting appearance. So, if you want your salads and fruits to look their best, just let in that cool, natural light—it’s like bringing the freshness of the outdoors to your plate!
3. Dramatic and Romantic

I always mix bright and dark lights to make a scene look dramatic and romantic. This is great, especially for deep, dark-colored dishes. Think of a cozy restaurant with a mix of soft and dim lights, creating shadows. Now, imagine a rich, dark dessert or a perfectly cooked steak in this lighting—it looks amazing! The contrast between light and dark not only makes the food stand out but also sets a romantic mood. It’s like putting a spotlight on your special dish, making it the star of a romantic meal. So, if you want a dramatic and romantic feel, play around with different lights to make your dark and delicious dishes look extra special.
Hire a food photographer in Dubai.
Practice and Experiment
Whether you’re using natural or artificial light, practice is key to mastering lighting in food photography. Experiment with different lighting setups, and don’t be afraid to push your boundaries. As you gain experience, you’ll develop a keen eye for the type of lighting that enhances the essence of each dish you capture. So pick up your camera and go hit that shutter button!!!!
Photography & Videography In Dubai
Follow us on our social handles: Facebook, Twitter, Instagram


