
Table of Contents
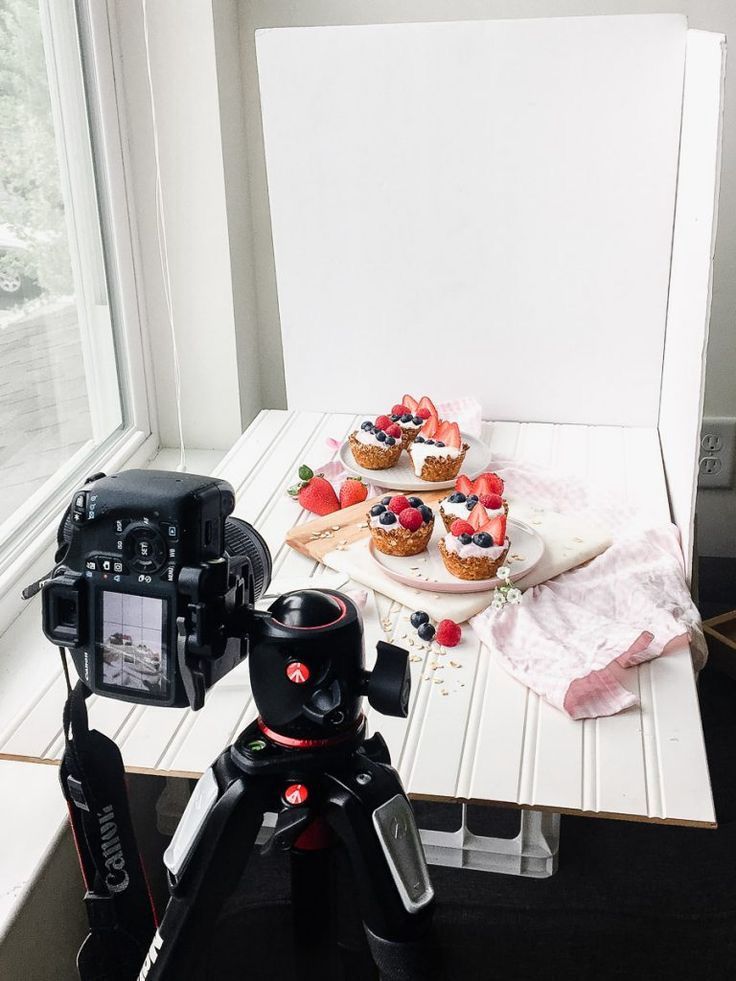
Post-processing and Editing in Food Photography play a crucial role in enhancing the visual appeal in food photographs, bringing out the details, colors, and textures to make the image more appetizing. Here are some tips and techniques for post-processing and editing in food photography:

How to edit food photography
Post-processing and editing in food photography are the final steps in the journey of creating delectable food photos. While the artistry happens in the setup and the click of the camera, post-processing can enhance colors, textures, and overall appeal.
1. Photo Editing Software
Choose a reliable photo editing software that suits your needs. Adobe Lightroom and Photoshop are popular choices, but there are also excellent free alternatives available.
2. Color Correction
Food should look just as appetizing on the screen as it does in person. Adjust white balance, color saturation, and hue to ensure the colors are true to life. Adjust the white balance to ensure that the colors in your image appear natural. This is especially important when shooting under different lighting conditions. You can use tools like the White Balance slider to correct any color casts.
3. Contrast and Brightness
Fine-tune contrast and brightness to make your food pop. Adjust these elements to create a balanced look and ensure that details are visible. Be careful not to overexpose or underexpose the photo, as this can affect the overall quality.
Enhancing Food Colors and Textures
The goal of post-processing is to make your food look even more delicious. Enhance the texture of the food by using the texture slider. This can bring out details like the crust of baked goods or the crispiness of fried items.
1. Saturation
Increase color saturation to make the food appear more vibrant and appealing. Be cautious not to overdo it, as unnatural colors can detract from the authenticity of the dish.
2. Sharpening
Apply sharpening to enhance the details and textures in your food. This is especially important for close-up shots where every crumb and sprinkle counts. Be cautious not to over-sharpen, as this can introduce artifacts.
3. Selective Editing in Food Photography
Sometimes, you may want to adjust specific parts of your photo without affecting the entire image. Use selective editing tools to highlight or tone down certain areas. Use tools like masks or brushes for selective editing. This allows you to target specific areas of the image, making adjustments only where needed.

Retouching and Removing Imperfections
Even the most carefully styled dishes may have imperfections. Retouching can help you remove distractions and enhance your food’s appeal.
1. Blemish Removal
Use the healing brush or clone stamp to remove any unwanted blemishes, crumbs, or imperfections from your dishes.
2. Background Cleanup
Clean up the background if it’s cluttered or distracting. Eliminate objects or elements that don’t contribute to the overall composition.
3. Skin Smoothing
If you’re photographing dishes with garnishes like sauces or creams, you may want to smooth out uneven textures to create a more appetizing appearance.
Adding Text or Graphics
If you’re creating content for your food blog or social media, you might want to add text or graphics to your photos.
1. Overlay Text
Use your editing software to add informative or enticing text overlays, such as dish names or key ingredients.
2. Watermark
Consider adding a subtle watermark with your name or logo to protect your images when sharing them online.
food photography editing tips

- Maintain Natural Colors: While it’s tempting to enhance colors, it’s important to keep the food looking natural. Adjust the saturation and vibrance subtly to avoid making the image look unrealistic.
- Highlights and Shadows: Use the highlight and shadow adjustments to recover details in overexposed or underexposed areas. This helps maintain a balanced exposure throughout the image.
- Soft Backgrounds: Create a soft and visually pleasing background by using a shallow depth of field during shooting or by applying a subtle blur in post-processing. This technique helps draw attention to the main dish.
- Texture Enhancement: While editing in food photography bring out the textures of the food by enhancing details. Use tools like the texture slider to highlight the crispiness of fried items or the flakiness of baked goods.
- Use Curves for Precision: Utilize curves adjustments for precise control over tones in your image. This allows you to fine-tune highlights, shadows, and mid-tones to achieve the desired look.
- Experiment with Filters: Experiment with preset filters or create your own to establish a consistent style across your food photography. Just ensure that the chosen filter complements the type of food you’re photographing.
- Maintain a Natural Look: Strive for a balance between enhancement and maintaining a natural look. The goal is to make the food look appealing without creating an overly processed or artificial appearance.
- Aspect Ratios for Social Media: Consider the aspect ratios suitable for various social media platforms. Tailor your editing to ensure that your food photos look great on Instagram, Pinterest, or any other platform you use.
- Final Touches: Before finalizing your edits, take a moment to review the overall image. Pay attention to the details and ensure that your adjustments contribute to the overall appeal of the photograph.
Saving and Exporting
When you’ve perfected your food photos, save them in the highest quality format, such as JPEG or PNG. This ensures they look their best when displayed on various screens.
which software is best for Editing in Food Photography

Several photo editing software options are well-suited for beginners due to their user-friendly interfaces and a range of features that cater to entry-level users. Here are some popular choices:
- Adobe Lightroom:
- Lightroom is widely used for its simplicity and powerful editing tools. It’s particularly effective for organizing and enhancing photos.
- The interface is intuitive, making it easy for beginners to grasp basic editing concepts.
- It offers non-destructive editing, allowing you to experiment without altering the original image.
- Snapseed:
- Snapseed, owned by Google, is a free mobile app available on both Android and iOS.
- It provides a variety of tools for basic and advanced edits, including filters, cropping, and selective adjustments.
- The user interface is straightforward, making it accessible for beginners.
- Canva:
- While Canva is primarily known for graphic design, it also offers basic photo editing tools.
- It’s web-based, eliminating the need for software installation, and it’s easy to use for tasks like cropping, adding text, and applying filters.
- GIMP (GNU Image Manipulation Program):
- GIMP is a free, open-source software with capabilities similar to Adobe Photoshop.
- While it has a steeper learning curve than some other options, it provides powerful editing tools and is suitable for beginners looking to explore more advanced features.
- Pixlr:
- Pixlr is an online photo editor available in both free and paid versions.
- It offers a user-friendly interface with a variety of tools for basic edits, including cropping, color adjustments, and filters.
- Photoscape X:
- Photoscape X is a versatile photo editing software with a range of features, including batch editing, collage creation, and GIF animation.
- Its user-friendly interface makes it suitable for beginners looking to explore various editing capabilities.
- Microsoft Photos (Windows 10):
- For Windows users, the built-in Microsoft Photos app provides basic editing tools like cropping, rotation, and color adjustments.
- While it may not have as many features as dedicated photo editing software, it’s convenient for quick edits.
read more about food photography for e-commerce
When choosing a photo editing software as a beginner, consider your specific needs and the type of editing you plan to do. Experiment with a few options to find the one that aligns with your preferences and workflow. Many of these tools offer tutorials and online resources to help you get started on your photo editing journey.
Post-processing is an art in itself, and it takes practice to become proficient. Experiment with different editing techniques and discover your unique style. Over time, you’ll develop an editing workflow that enhances the visual appeal of your food photos while maintaining their authenticity.